Description
User can also manage stock levels in WMS.
The following document explains how to add/change min and/or max stock levels in WMS.
Stock levels can be manually added or/and changed or exported/imported in WMS.
Detail Steps
To manage stock levels manually:
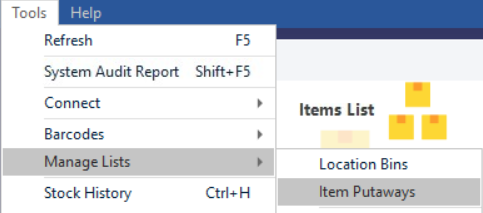
1. From the Tools menu, select Manage Lists.
2. Select Item Putaways.
3. Select your items: search by item or/and by Location.

4. Choose the item you want to add/change quantities and click on Min Unit or Max Unit and manually typed in the quantities.
5. Print Putaway report and/or Close.
To manage stock levels by import/export:
-
From the Tools menu, select Manage Lists.
-
Select Item Putaways.
-
Select your items: search by item or/and by Location.
-
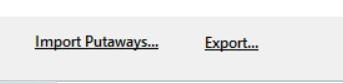
Click on “Export”, and your excel spreadsheet will open with all your selected items.
-
Add/change the min and/or max unit quantities.
-
Save and Close.
-
Go back on your WMS screen, or re-open Tools Manage Lists Item Putaways.
-
Click on “Import Putaways”.
-
Print Putaway report and/or Close.
To run the report for stock alerts, go to Reports > Stock > MinLevel Alerts.
Preferences for Master levels
Login as superuser.
Go to Options > Preferences > Inventory Tab.
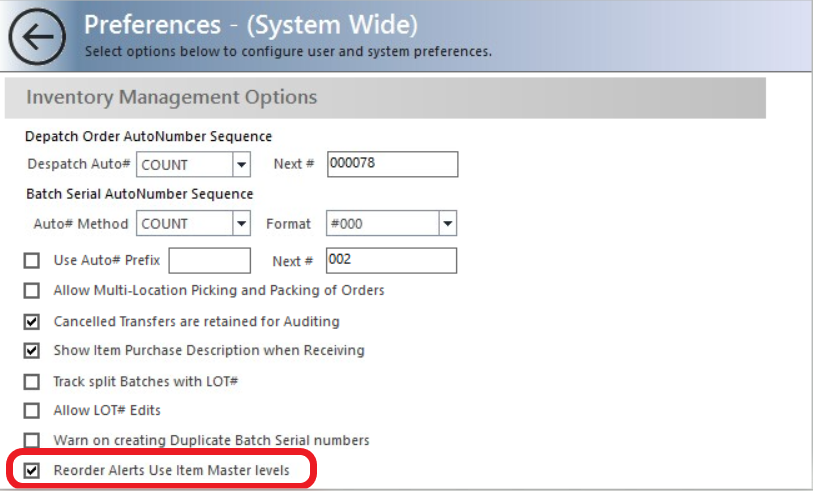
If the above setting is ticked, it uses Accounting software Min levels rather than MIN/MAX in WMS.
Untick this in preferences; it will normally use WMS MIN/MAX levels when an item is marked non-inventory in Accounting software and min/max disabled in Accounting software.
Related Information
None
Was this article helpful?
That’s Great!
Thank you for your feedback
Sorry! We couldn't be helpful
Thank you for your feedback
Feedback sent
We appreciate your effort and will try to fix the article